Thursday, January 27, 2011

Gone, gone, gone, she been gone so long....

* Extra credit if you can name the band in my post's title. ;)

Happy 2011! I can't believe I've been M.I.A. since the middle of November - geesh! I guess I've been busy doing everything but blogging. Oh well, c'est la vie! Life's been busy, holidays were great, three more craft bazaars under my belt and the boys are all rested up and back to school (wish I could say the same for myself on that "rested up" comment).

Since my next several posts are going to be all over the place, date wise, I guess I'll start with some photos of my latest card workshop. I hosted one on Sunday afternoon and then repeated it again Tuesday night. I had 8 people join me on Sunday and 4 on Tuesday night, both great groups of people (as always). Makes all of the prep time and late nights worth it. :)

I'm not going to be doing a February workshop (I'm going away for a crafty retreat - soo excited! It's my first time doing something like that.), so I tried to make most of the projects Valentine/love themed to give the attendees some fun ideas for the upcoming holiday.

The new Close to My Heart Spring/Summer Idea Book goes live on February 1st, so I decided to use all new papers and stamps to give everyone a sneak peek.
(*Make sure to scroll all the way to the bottom of the post to see links to more blogs featuring artwork made with the New CTMH papers and stamps.)

Card number one:


This style of card is called a Diagonal Double Pocket card. We used the new "Wings" paper pack (lots of butterflies) and we used the January Stamp of the Month called "Find Your Style". Added some ribbon and of course a couple little sparkles for some added bling.

Card number two:


This second card is a Cris-Cross card. We used the new paper called "Sophia", it's my favorite in the new catalog. The stamp set is called "Circle Together" and has some other cute, circular designs that work perfectly with our 1 1/4" punch. We also used our new 2" Scallop Circle punch to add some dimension to the front of the card. I'm copying this same design for a card swap that I'm participating in next month. If you're one of the fellow participants, sorry for the spoiler.

Card number three:


Isn't this a cutie? This card uses one of the papers from the new "Sweetheart" paper pack. We made a fun little paper pleat to go under the darling stamped image. I just love those little toddler silhouettes! That image comes from a set called "Baby Love". The sentiments are from a stamp set full of different little love sentiments. It's called "Card Chatter - Love". I did a variation of this card for another swap I participated in, but I'm not posting a photo of that card until the other participants receive theirs in the next few days.

Project number four:


We made 3 cards this workshop and created some treat holders as well. This was a simple little candy bar holder. We used the "Sweetheart" paper as well and also used the "Card Chatter - Love" stamp set again for the heart image. I thought this could be paired up with the last card for a cute little gift combo.


Project number five:


This is a "bag-a-lope" - a little bag made out of an envelope. I've done these in past workshops, but it's such a handy little technique I wanted to do it again. It's just a great inexpensive way to wrap up a little treat or gift card. This little bag started out as an envelope for a 5x7 card. Just do some cutting, scoring, folding, add a little decorating on the front and voila, easy peasy, a fun little bag.

We used the new "Spray Pen" to spritz a little color and shimmer on the card stock. Just add a drop or two of Pearl Paint, some re-inker and some rubbing alcohol, shake it up and spray. After a few minutes of drying time we used the stamp set called "A Game" to add the little tic-tac-toe images and the words Happy Valentine's Day came from the "A Little Everything" set (formerly a 2010 Stamp of the Month).

Project number six:


Lastly, I saw this idea on a fellow consultant's blog (Karen Pedersen). She used these little 1x8" clear bags (from clearbags.com) and filled with M&Ms. Everyone got to add their own M&Ms to their bag and I gave each person a little stamp set called a "Petite Perk". They used their new stamps to create their own tags with some scraps I put on the table. Each person's came out different and they were all great!

I always forget to take photos during my workshops, but Tuesday night I finally remembered. Here are the 4 ladies crafting away...


* I just discovered a blog hop hosted by another CTMH consultant Erin, so I joined. Check out the links below to see more CTMH consultant bloggers and their creations using some of the new products coming available on February 1st. Have fun hopping and let me know if you have any questions.


Wednesday, November 17, 2010

This is for you Linda Lee... You're welcome.

Make sure your speakers are on. I made sure this included concert footage, so you can pretend you're right there experiencing the tranquil sounds. Enjoy and again, you're welcome!! lol


Tuesday, October 12, 2010

Blah blah blah, yadda yadda yadda... my October Halloween workshop

I know, you're tired of hearing my excuses and promises to be better at keeping up my blog. Well, here I go again. Yes, it's been another month and a half since I've posted on here. What's my problem?? I keep saying I have plenty to post, but I can't seem to get my booty downstairs to the computer that has the photos downloaded on it. I guess I really can't do everything from my iPhone, ha.

Well, life's been pretty normal the last few months, kids enjoyed summer break, we took a road trip (post will follow soon), I worked more hours than normal at my day day job (still am), still doing my monthly Close to My Heart workshops, etc...

Speaking of my monthly workshops... I thought I'd better get some photos on here of the cute little projects we made this month, just in case it gives someone a fun idea for handing out Halloween treats to friends, neighbors, co-workers, etc..

This workshop was different from most that I do. Normally we make cards, but I personally don't send out Halloween cards (not that I'm opposed to it, just haven't done it in the past), so we made some treat holders. This was by far my largest turnout. The past few workshops I've been holding one workshop on Sunday afternoon and then repeating it the following Tuesday evening. This month I had so much interest for the Sunday class that I had to split it into two groups, so had a total of 18 crafty folks here that day (9 in the morning & 9 in the afternoon). The size of the groups worked out great, but my timing was a bit off. Because the content of this workshop was a bit more than normal, I should have allowed for more time for each group. Live and learn, right? I had a nice small workshop with only 2 people on Tuesday night and it was very relaxing.

So our big project this month was the My Creations Cube decorated up Halloween style. Perfect little home decoration or for your desk at work. It's a great idea for a teacher gift too! I used the photo of the cube that was in the Fall/Winter Idea Book for inspiration and I like the results.

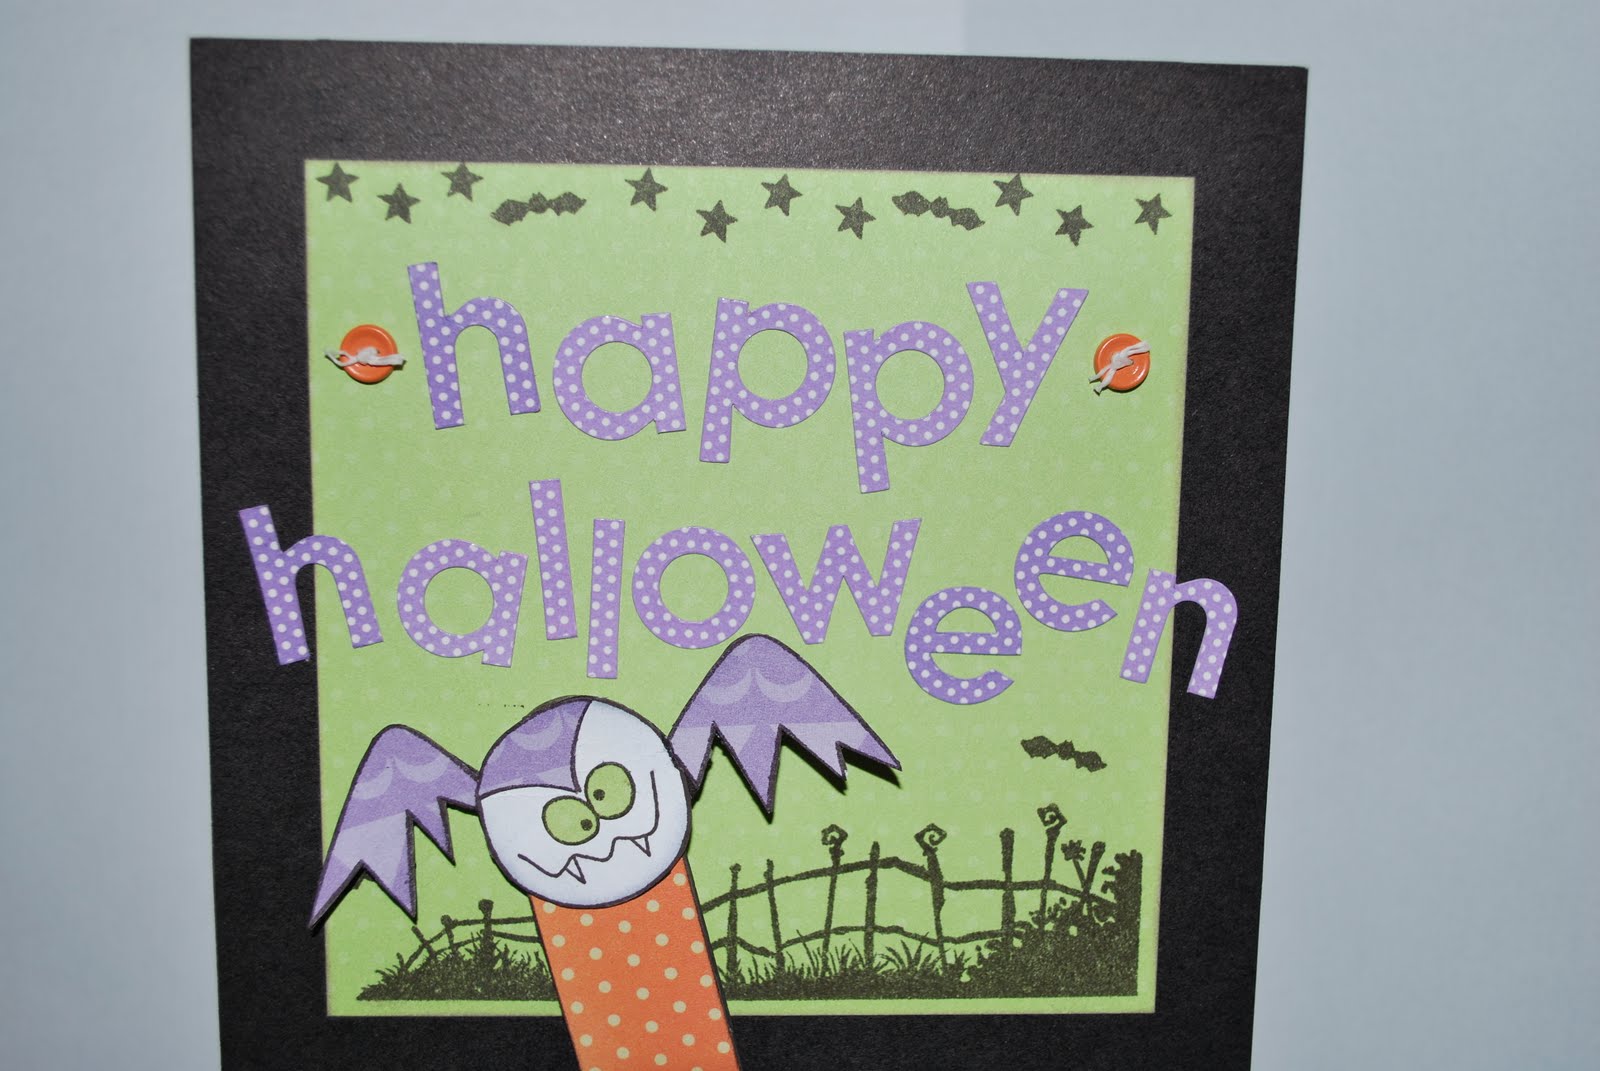
Here's the one we made.


The little Bat on a Stick is actually holding the lid open. Once you're ready to put the box away for the season, just take the bat out of the little pocket on the inside and close it up. Much easier to store that way.


Here are the close ups of each side we made.


This is from Halloween 2005 when Mateo & Jaxon were Mike and Sulley from Monster's Inc. I loved those costumes that year! Look how little my babies were (awww).


Then we made a little treat holder using one of the 4x6 Flip Flaps (normally used to add extra photos on your scrapbook layout). I copied this directly from another CTMH consultant (Shannon Murdock) right down to the candy she used (from Target). I loved her design!


Here's a fun little treat holder that was inspired by my friend (and fellow consultant) Linda. I loved how she put a pencil and sucker in hers, so I copied her idea. This one's very quick to make and inexpensive as the contents came from the dollar store.


This last one is one of my favorite little treat bags to make. I've made them for other occasions, such as Easter & Birthdays. It's made with a brown paper lunch sack, two pieces of cardstock, some decorative paper and a few embellishments. Voila!


All of the projects were made using the new "Hooligans" paper pack and one sheet from the new "Olivia" paper pack. I also used all but one of the Halloween stamp sets in the current Idea Book (Can you tell I like Halloween? Yes, I have them all).

If you have questions about any of the projects or items used, leave a comment here or drop me a line at kandi@myctmh.com.

Happy Halloween!!

Sunday, August 22, 2010

Lucky 13!

13 years ago today I married my best friend! I think I show this photo each year at this time, but it's one of my favorites from that day.


I was digging in a photo box trying to find something else I could scan in and I found one of our wedding invitations. This was one that was just printed on copy paper when I was trying to figure out the printing setup. I made these way back then because I must have been too cheap to buy any, lol.


I mixed in a few photos that someone else took besides the photographer. This was trying to get everyone to quit laughing and focus.


Yay, we did it, nice shot.


All of our parents and grandparents in one shot. I love this photo!


Here were a few of the highlights of the evening...

First dance.


Bouquet toss.


Garter retrieval. (Uncle Leroy cracks me up here with his glasses.)


And our last dance. Everyone danced in circles around us as the DJ played "Happy Trails". Great memory.


We've had so many wonderful memories since this day, here's to many many more with the love of my life. Happy Anniversary Chico, I love you!

Sunday, August 1, 2010

A sad day at our house

Our little Jennifer left us this morning after almost 16 years with us. She was a loving little companion and she will be greatly missed. I didn't realize until this morning that her 16th birthday would have been tomorrow. May you rest in peace little one.

Friday, July 30, 2010

Christmas in July

Ok, so I haven't been a good blogger lately. I've skipped all kinds of events (even my own birthday), but sometimes things get in the way of my being productive. Things like T.V., television, the tele, the boob tube... are you seeing a theme? Ha! Yes, I have a bad tv watching habit and I know it makes for a very unproductive girl. Oh well, c'est la vie.

One of my other problems is doing fun things instead of doing what I should be doing, so on a whim last night, rather than cleaning the house, doing laundry, giving the dog a bath... I decided to make a card for a challenge on the Stampingbella blog. She's in Eastern Canada, so I don't know if my submission made it there on time with the time difference and all, but I tried.

The theme this week was "Christmas In July" and this is what I came up with. My photo's not the best because I normally use my Mother-in-Law's camera, but she had to "borrow" (wink) it a couple weeks ago and I haven't gotten it back. I used my iPhone to take photos last night and just couldn't get a true color photo, but I just had to go with it. Here's the card I came up with.


I used "gifty tree" from Stampingbella. I just love their stamps! I also used some of my Copic Sketch markers and Spica Glitter pens. I was trying to show the sparkle in the photo, but it didn't come thru as well as I'd like. You can check out her blogabella blog today and see what other folks came up with for their "Christmas in July" artwork. She's got some very talented people that play along each week. Well, off to work, at least I'm productive somewhere in my life, lol.

Sunday, July 4, 2010

Independence & Handmade Cards - two things I love!


Happy Independence Day!! I'm thankful as always to have my freedoms and enjoy a good life with my family and friends! Thank you to all of those past and present that have made that possible for us!

On a somewhat related note... I had a card workshop earlier this week and thought I'd share what we made. This first card was made specifically for today. It was made using two different stamp sets, "C1394 Candlelight" (which is actually a stamp set featuring different candle images (more for birthdays), but I thought these looked like they could be fun firecrackers) and "B1354 Boom!". Now these are the firecrackers I don't mind being near today, I'm just not one that enjoys the real thing too close to me. I'm more of a snakes & sparklers kind of gal, lol.


Once we stamped the images, we cut them out and then curled the cardstock around a pen to get the 3-D effect. They stay that way quite well without having to do anything else to them.


I actually had a second motive for doing this card. I've also been wanting to play along in a challenge over on the Heart 2 Heart Challenges blog, but haven't had the opportunity yet. This card actually works for the theme this week which is "Patriotic". If you're a fan of Close to My Heart products you'll want to check out this blog. It's run by a Close to My Heart consultant and there's a regular design team, then each week other people (consultants and non-consultants) can participate in the challenge and link their creations. It's fun to see how differently people interpret the challenges.

This next card was made using the Magic Moments paper pack and the stamp "C1407 Hot Diggity" (which we used last month for the embossed Frog card we made).


This card was inspired by a combination of elements from two other CTMH consultants (Faith Richardson and Jennifer Bennett). Isn't that little snail cute? I thought this card style was very clever with the green flap tucking behind the raised circle the snail is stamped on and once untucked, revealing the inside of the card.

One of the techniques we tried out during this workshop was using the Watercolor Pencils and a Blending Pen. I had only used each a couple of times in the past, so I wanted to do a little more with them and I had a lot of fun. I've always liked to color, I find it very relaxing.

Here's the first card we made using the Watercolor Pencils and blending pen.


Isn't this little Elephant fun? I'm not usually one that's drawn to really cutsie images, but this whole set is great for coloring. It's called "D1434 You're Great" It has an aligator, monkey, hippo and a lion as well.

That background was a bit of a challenge in class. We started off with just a plain Blush colored cardstock and then used the "D1412 Noted Backgrounds" stamp to get the Herringbone effect. It takes some practice to get the lines to line up because for a card front this size you have to stamp the image 4 times.

We also added a little Liquid Glass to his toenails to give them a little shine and dimension.


The next card we used those same Watercolor Pencils and Blending Pen and added a few more colors. This girl is from the "D1344 Ms.Gardner" set. She was fun to color, and paired with that lovely Topstitch paper, I think this card turned out pretty cute.


The sentiment continued to the inside of the card.


And last but not least, we did a card using the new Petite Perks "Dreams" stamp set that's featured on the back cover of the Summer Idea Book. This is a set for consultant's to purchase and do with what they choose. I chose to use it on this card and then give all of the workshop attendees a set to take home with them.


This time we used the Blending Pen once again, but we didn't use the pencils. This time we used the pen and dipped it in the excess ink that accumulates on the lid of each stamp pad. This is a great option if you don't have the matching marker color, to use on small areas.

Well, I hope everyone has a safe and enjoyable holiday this weekend, thanks for sticking with me to the end of this long post. :)

Saturday, July 3, 2010

Happy Birthday to my wonderful Dad!


Happy Birthday Dad! I hope you have a fantastic and relaxing Birthday, you're the best!! I love you!

Friday, July 2, 2010

I won, I won!!

Woo hoo, I was just sitting here surfing around my favorite blog sites and discovered that I won a new stamp set and some fun accessories from one of my blogger friends Sparkle!!! How exciting!

Sparkle announced earlier this week that she's starting her own stamp company, Sparkle Creations Rubber Stamps, which will be opening it's doors (online) on Saturday, July 10th at midnight. She's been giving little sneak peeks of some of her images and giving away those images along with the card she featured on her website & some fun paper and accessories to go with it. The stamp I won is Surfing Oliver, here's the card Sparkle created with him.


and here's the rest of the loot I won...


Isn't' that fun?? Go and check her out at Sparkle Creations Rubber Stamps and see all of the images she's shown so far, they're so fun! I wish Sparkle all the best with her new company and I'll definitely be adding some more of her images to my stash as soon as her doors open on Saturday, July 10th at midnight!!